March 31, 2010

Big 300 Giveaway PARTY!

March 31, 2010
With everything else going on I almost missed a momentous occasion.

Our Etsy Shop hit sale #300!

I opened up shop about almost a year ago and my goal for my first year on Etsy was 50 sales. 50?  Hah! We slashed that goal to peices! Woo hoo!
I am ecstatic that our shop is thriving and and I am thouroughly enjoying every second!

Thank you to our wonderful customers that made this possible *tear*

To celebrate our 300th sale, (and finishing my BabyHalfOff.com order) I took my family out for celebration dinner.

Since all of you couldn't be there with us to celebrate, I'm having a blog giveaway party too! I am going to shower down gifts on some lucky peeps.

Here are the goodies you can win!

(I'm giving these out as 5 separate prizes! That means you 5 times more likely to win something!)

From our own Cantaloupe Blossoms:

Cream and Sugar on a metal headband

Delila Blossom No-Slip Clip
(3 inch diameter. No slip alligator clip on the back)

2 Orange Hydrandea  no-slip clips with real freshwater pearl centers:
(Each flower meaures approx. 3 inches across and has a no slip alligator clip on the back)

And also, from Redeemed Designs we have 2 adorably sweet cards you can win!
These blank inside greeting cards feature smiling anthropomorphic candy and come with embellished envelopes. They are the perfect way to wish someone a happy anything, or everything.
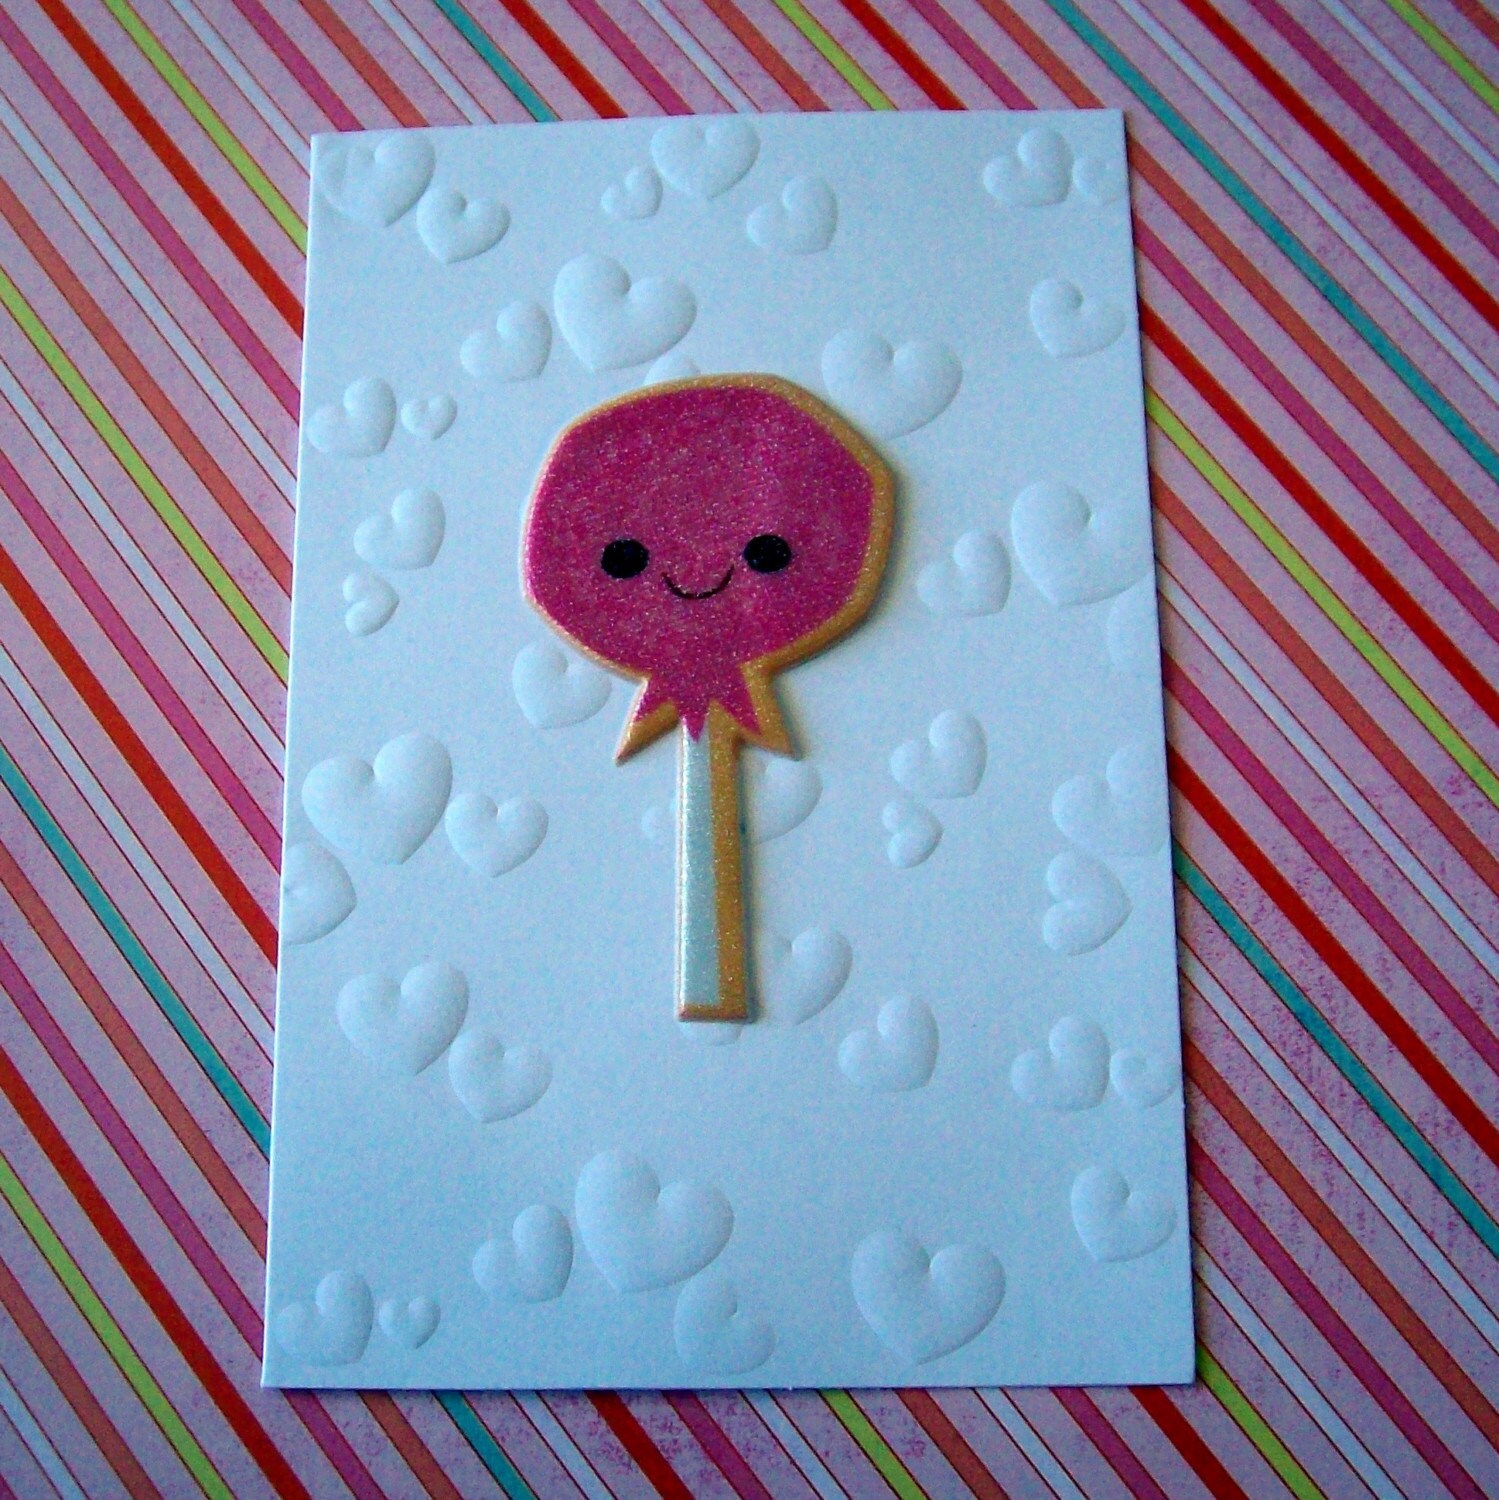
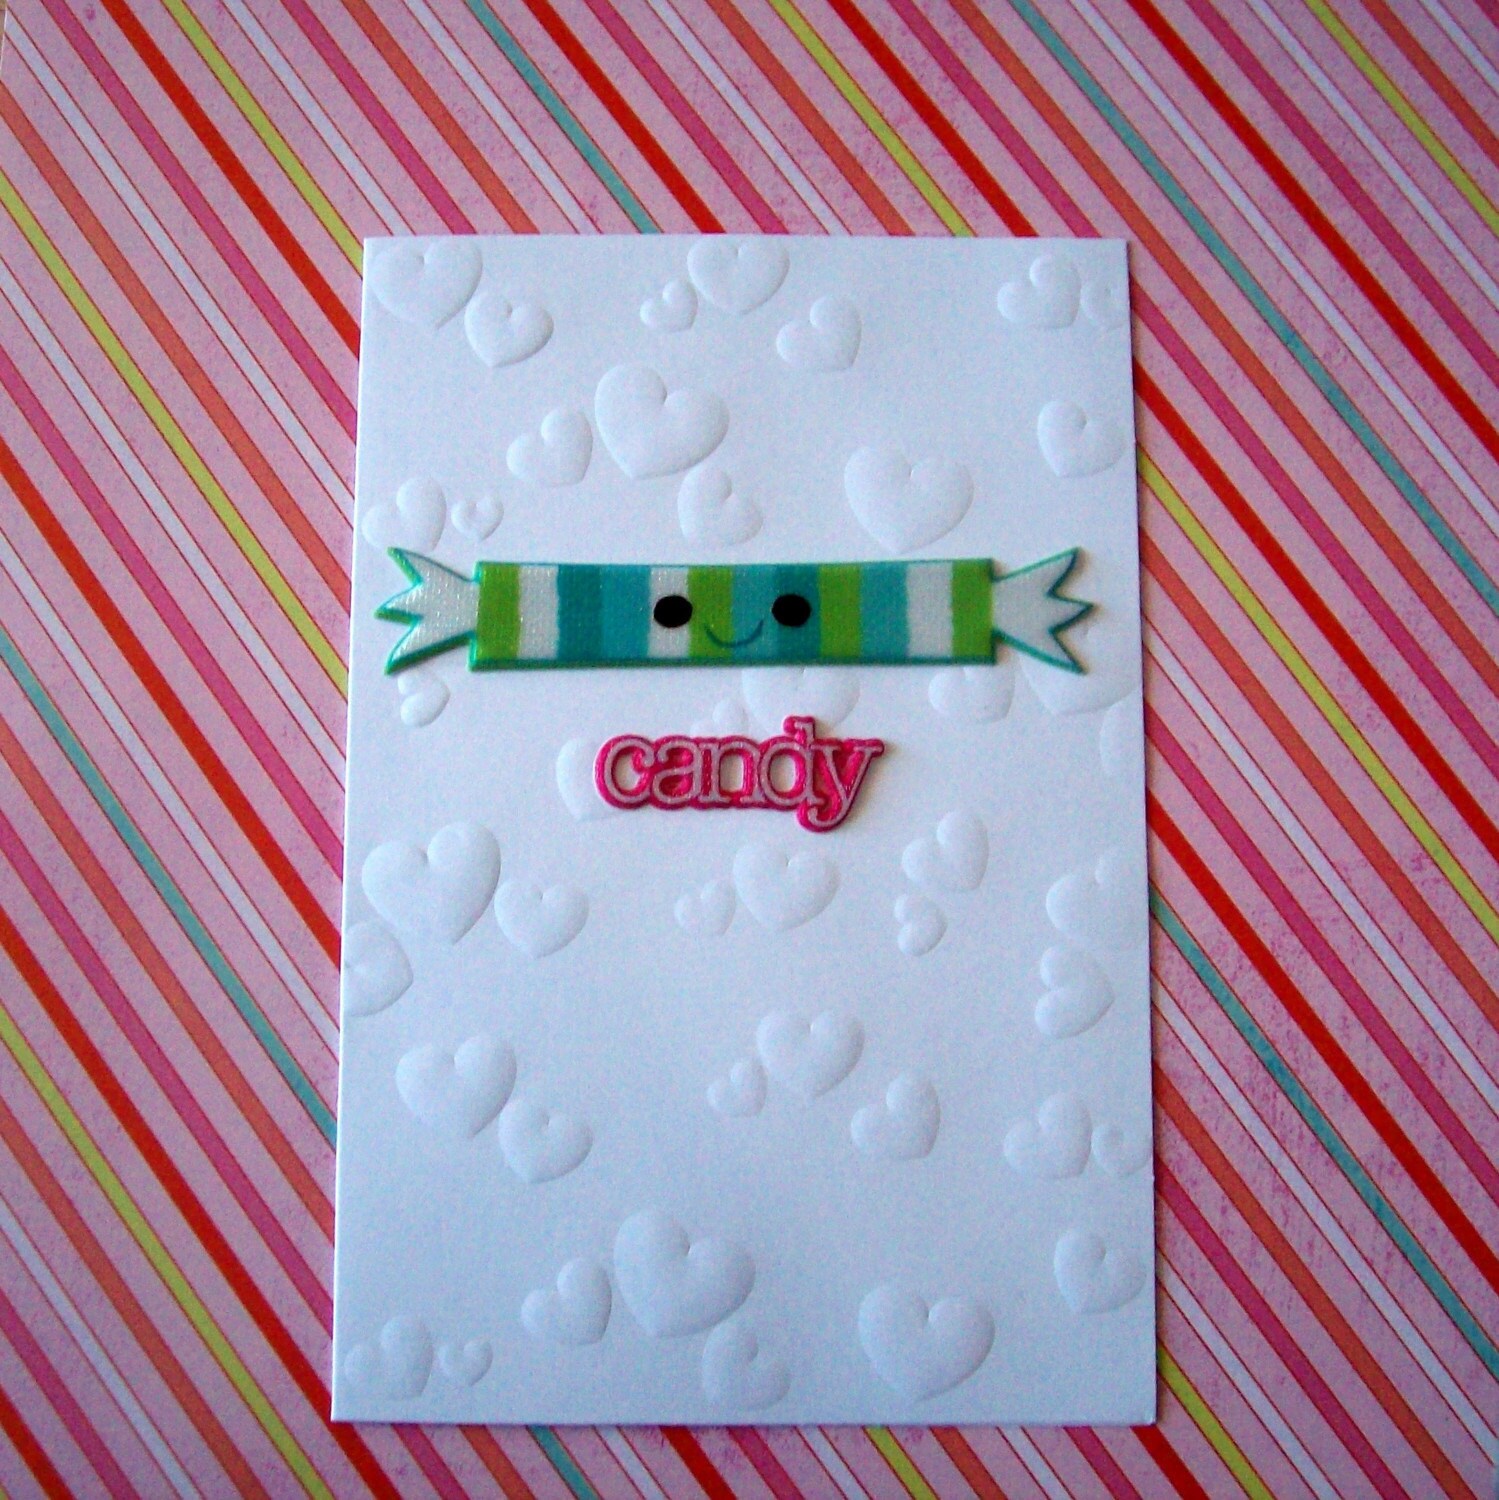
Redeemed Designs also has some really cool vintage-y stuff so definitely check out their shop!


And Finally, from the always adorable Cootie Pants : Be the first to own one of their new line of Toddler Belts! (I love these because cute toddler belts are hard to find.)  Your toddler will be the coolest kid on the block!

The belt is a turtle print on kelly green polypro webbing with d-rings, 25 inches long with 7 inches of the turtle print on the inside so the print will show as the belt is adjusted. One size fits most up to age 4.
The cute turtle pattern is great for a boy or a girl!


Here's how you put your name in the hat to win these goodies:

TO ENTER:
1. Follow our Blog
2. Be our Facebook Fan
3. Blog about our giveaway
4. Tweet about it
5. Post our giveaway on Facebook
6. Visit our Etsy Shop and leave a comment here with your favorite item
7. Randomness: Tell me your favorite knock-knock joke (keep it clean, please)

Leave each entry in a seperate comment. We will be using a random number generator to choose the winners!

Technical stuff: This giveaway is open to US and Canada participants only.  Giveaway will end Thursday April 8th at 12:00 noon Arizona Time.

Thanks for celebrating with us! Here's to another 300 sales!

Good Luck Everyone! I hope you win!
Related Posts with Thumbnails

March 30, 2010

Baby Half Off TODAY

March 30, 2010
Check out http://www.babyhalfoff.com/ TODAY to get your very own Cantaloupe corner "Little Mister" Toddler Tee or "Girly Owl" Bodysuit for HALF OFF!
Photobucket
Related Posts with Thumbnails

March 29, 2010

More BIG NEWS

March 29, 2010
It doesn't get any better!
I just sent off our biggest shipment yet down the road to BabyHalfOff.com

If you are one of the few who haven't heard of this site yet. . .


Baby Half Off is a deal a day site that gives half off or more on the greatest baby and mom stuff out there.

They have about 11,000 facebook fans and they update every morning with the newest deal of the day.

Keep watching that website because you will see Cantaloupe Corner designs there THIS WEEK!

Photobucket
Related Posts with Thumbnails

Put it on a t-shirt !

We've got new items in our Etsy shop!
 You've seen these designs before on our baby bodysuits and now they are available on our popular Toddler Tees!

Each shirt is available in 6 different colors. 
And as always, they are super soft and ink-free!


 Photobucket
Related Posts with Thumbnails

March 27, 2010

I pity the fool. . .

March 27, 2010
. . .who won't help kick cancers butt!

I, like many of you, have a family member who's life has been effected by cancer. My adorable little nephew, Keaton, was diagnosed with cancer when he was only 5 years old. The doctors found a tumor in his skull. He just recently finished his chemo and radiation treatments and thanks to the doctors, and God, he is doing really well!

 Laura from Laura Odom Photography has been holding auctions on her blog all month long to raise money for the American Cancer Society. 
There are so many amazing things up for auction, like the super-cool Mr. T bodysuit (shown above) by Mi Cielo

Or this adorable, unique backpack by Down the Road.


Today, one of our "Little Mister" shirts is up for grabs! And there are new items up every day! So keep checking back!

Help beat cancer and get good stuff while you're at it!

Drop by Laura  Odom Photography and let the bidding begin!!


Photobucket
Related Posts with Thumbnails

March 26, 2010

Vintage Calendar Wall Art

March 26, 2010
My boys are soooo into trains. My 3 year old is completely obsessed. He plays trains all day long, building tracks in my living room, guest room, kitchen, sandbox. . . and he even dresses the part of the engineer when he can. When it was time to "grow up" the boys' bedroom I made the difficult choice of doing a train theme. (Like there was any other choice.) 

I am slowly doing one project at a time to Train-ify their room. I chose funky colors like turquoise, mustard yellow,  and red: all derived from the hip fabric I got for my son's quilt. (sorry, no pics)


But today's project was my favorite! I used an old calendar full of amazing vintage train posters to make art for their wall! The best part is that the posters even matched his quilt!
This is definitely the way to recycle!

Vintage Calendar Wall Art


First I cut out the pages I wanted and taped them together to make small posters. 
Then I took my HUGE canvas that has been sitting around my house for way too long and I painted it.  (I was supposed to paint a big ol' fancy train on that canvas but obviously never did. Who has time for stuff like that?)


Once you get the colors you want just paste your pictures onto the canvas. I used Mod Podge but as you can see the pictures got a bit lumpy :(  I'm sure there's a better option for glueing paper onto canvas. 


Next, I added a fabulous vinyl sticker (I ordered off of Etsy, on clearance!) at the bottom.  I was going to use this sticker on the wall but I want to paint the walls too. . . maybe. . .
At least I have options. (I must have commitment issues)


And to complete my work of art I hot glued old rope around the outside edges to make it look even more vintage.


All that's left to do is hang it on the wall, stand back and enjoy.


And my favorite part is that I didn't have to step foot inside a store! I had all of this stuff on hand.
If I was going to buy the materials:   
Canvas = $15 (use a coupon for Michaels or Joanns)
Paint = .33 each bottle. I used 3 colors
Awesome Calendar =  Dollar store find!! (seriously!)
Vinyl Sticker =  $4 on Etsy

Everything for about $20!
That's it! Great custom kid's room art for cheap!
Related Posts with Thumbnails

March 24, 2010

ULTIMATE Brownie Challenge !!

March 24, 2010
I am a self diagnosed (and self medicated) CHOCOHOLIC.

I've known this truth for sometime now. I tell my husband that my chocolate "problem"  is a side effect from having my kids. Pregnancy does things to you.
I don't have a stop button when it comes to chocolate. Especially choco-licious BROWNIES with rich gooey frosting! {drool}

I know there are more people like me out there. People that enjoy a decadent, ooey-gooey, fudgy, oh-so-chocolatey brownie treat.  So I've decided to petition all of you for your most mouth-watering recipies to join the :

ULTIMATE BROWNIE CHALLENGE


Here's how it's going to work.

Basically your only job is to send me your most scrumptious brownie recipe.
Email the recipes to me at CantaloupeCorner(at!)gmail.com

I will personally bake and taste each recipe, (as long as it isn't made with crazy, or hard-to-find ingredients). And if I get too many recipes I might have to recruit other chocolate baker/tasters for help. Volunteers?

The most delicious brownie wins. Easy as pie! uh, I mean brownies!

(I'm not putting a time frame on this challenge yet but I'll post a close date after later when I know how many recipies I'm going to be making. )

The winning recipe will be posted on our blog after the challenge is finished. YAY! So all of you can make the yummiest brownies!

And what will the prize be? 

a $50 Cantaloupe Corner gift certificate!

So hurry! Don't dilly-dally!
Help a struggling Chocoholic.

Thanks and good luck! I hope you win!


P.S. I also finally got my Facebook URL ! Hooray!   www.Facebook.com/CantaloupeCorner
Related Posts with Thumbnails

March 18, 2010

Flower Bud Drum Light Tutorial

March 18, 2010
I needed a new light for my studio and I decided to make my own!
 The best part about this project is, I didn't have to buy anything to make this!
I love being able to make use of things I already have.

 And except for the light kit and maybe an embroidery hoop, you probably have everything too!


HOW TO MAKE A DRUM LIGHT

Materials needed:

Wooden Embroidery Hoop (Mine was a 14in oval but you can use any size you want)
Wire Hanger
Light Kit (I got one super cheap at IKEA)
Thin Wire (I repurposed  wires from an old Cell Phone Charger)
Glue Gun and Glue Sticks
Cute Fabric
Ribbon
Light Bulb
Pliers and wire cutters
Scissors
Embellishments!

Step 1. Make a ring to fit around your light kit. Snip the top of a wire coat hanger and use your pliers to manipulate the wire into a circle that will fit around the threaded part of the light kit.


Step 2:  Seperate the two peices of the embroidery hoop and remove any screws or extra hardware. If needed, hot glue the hoop together where it splits to open.


Step 3:  Tie the wire circle made in step 1 to the hoop on all 4 sides with the wire.


Step 4: Prepare your fabric. Cut a strip of fabric that is as tall as you want the shade and as long as the circumfrence of the hoops, plus a couple of extra inches. If you need to, sew two pieces together to get the length you need.

Step 5: Hot glue the edge of the fabric onto the top hoop.
Make sure you start at the back if there are no seams in your fabric, and start on the side if there is a center seam. I forgot to check mine and ended up with a seam in the middle  :(
If your hoop is like mine, when you get to the backside where the hunk of wood is, snip the top and glue the fabric under the wood.  Make sure you leave a couple of inches of fabric at the end for finishing.

Step 6: Line up the fabric on the second hoop and hot glue the bottom of the fabric around the second hoop.

Step 7: Once you get to the end, using fabric glue or hot glue fold the extra fabric over. . .
. . .then fold it over again (to hide the rough edge) and glue it down.


Step 8: Trim the top and bottom with cute ribbon.
Step 9: Cut two more pieces from the wire hanger that are the same length as the height of your lamp. Hot glue one on each side on the inside of your lamp to reinforce the light and to keep it straight and sturdy

Step 10: straighted out the remaining wire hanger and cut 2 pieces as tall as your lamp. Hot glue these on the inside of both sides (on the hoop) to reinforce the lamp, take out the wrinkles, and make it more sturdy.

Note: if your light doesn't hang straight because of extra weight on the embroidery hoop, hot glue small washers or other weight onto the opposite side of the hoop to balance out the weight.

Step 11: Embellish!
I added fabric flowers made from silver satin. ( and they hid the unsightly seam that was on the front.


Lastly: attach the light kit to your new creation and hang according to the light kit directions.

Enjoy your one-of-a-kind custom lighting!


Photobucket
Related Posts with Thumbnails

March 10, 2010

A Blissful Event!

March 10, 2010
I've locked myself in my studio for the last 3 nights and it's all for a great reason. Though I can't complain about being locked away. I adore spending time in my creative room. I think I could live in there with all the beautiful fabrics, a new shipment of blank canvases (a.k.a. tshirts), and a list of new ideas! *sigh*  Pure Bliss!

What was I talking about. . . ?

Oh, that's right. I am preparing for a fabu-tastic Saturday at the Power Square Mall  in Mesa (used to be the Factory Outlet Stores).


that Raspberry Bliss Boutique is hosting a Grand Opening Party!

Fastastic shopping, spring crafts, and yummy cotton candy! (Did I mention I LOOOVE cotton candy?)

Click the link above for details and address. Or email me at CantaloupeCorner(at!)gmail.com for directions.


I'm a little distracted (a.k.a. ADD) today. Running on very little sleep. . . or maybe I'm just excited. .  . or both.

Back to the Bat Cave! 
I need to come up with better name for Craft Maiden's hideout. Any ideas?

Photobucket
Related Posts with Thumbnails

March 8, 2010

Happily Better After

March 8, 2010
(I have to brag about my extrodinarily talented friends every once in a while. )


If you haven't checked out Better After yet, you HAVE TO!

Better After is an intriguing before and after blog.  My girl Lindsay is the brains behind the blog and she is a clever girl with a great eye for home decor. She posts re-dos from cute recovered chairs to entire kitchen remodels! 

If you are the do-it-yourself type, or if you just need some spectacular ideas, jump on over to Better After.
You can even send in your amazing "better afters", and you may see your creations on her blog!

Yes, It's really THAT GOOD!

Kudos to Lindsay for such an awesome blog! You go Girly!

Photobucket
Related Posts with Thumbnails
 
Blog Design by Eedee Design Studios